6 Steps to Set Up an Inviting Block Play Shelf
Setting up an organized, inviting block shelf is essential to facilitating meaningful play for children. By organizing blocks by shape and size on an open or compartmentalized shelf (instead of dumping them into a bin or hiding them away) you can literally change the way that children play with them.
The goal is to organize your block shelf in a way that allows children to have visual and physical access to each block shape and size available. This kind of setup supports children's planning and allows for execution with minimal frustration. Blocks in a large bin or a jumbled pile don't facilitate the same kind of problem-solving and often result in a frustrated child who can't find the materials they need to carry out their big ideas.
So, let’s set up a block shelf that supports meaningful play and allows materials to be used at their highest potential!
Here's how to do it in 6 easy steps!
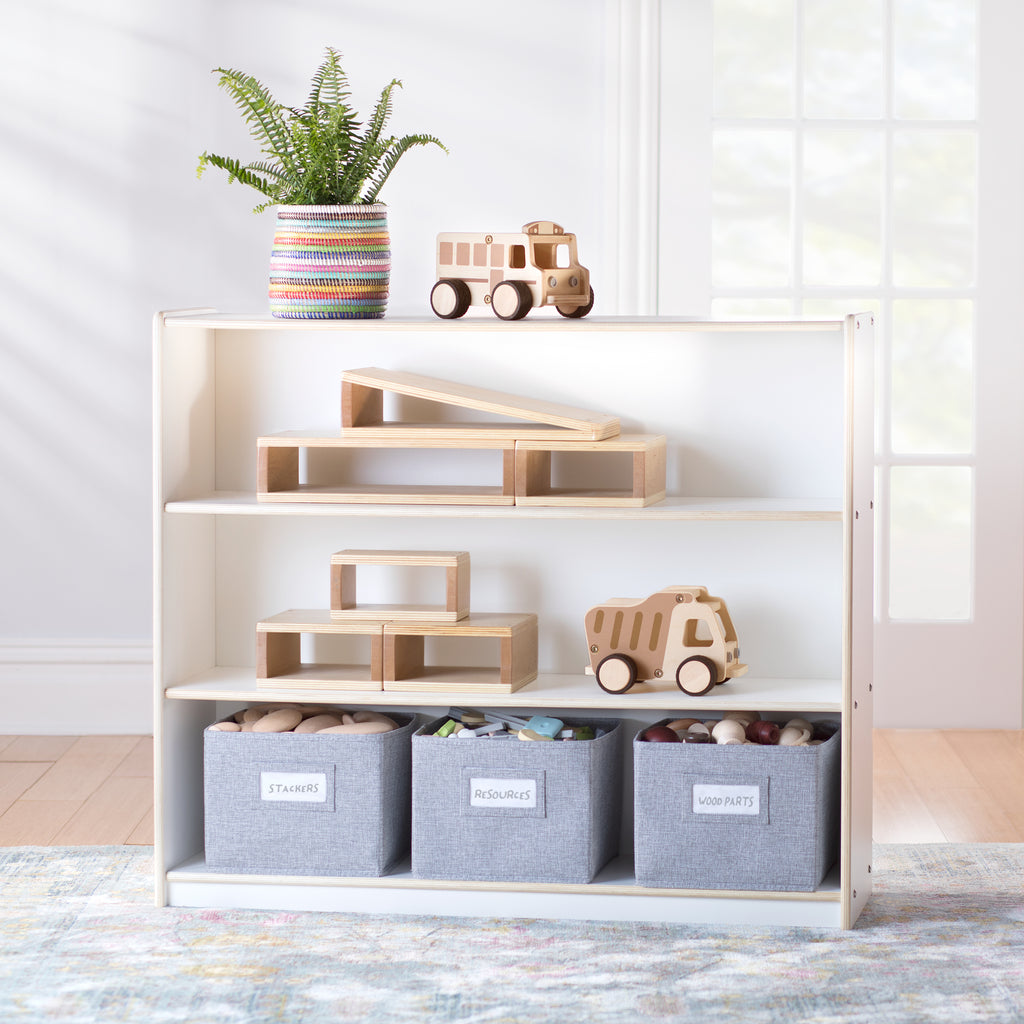
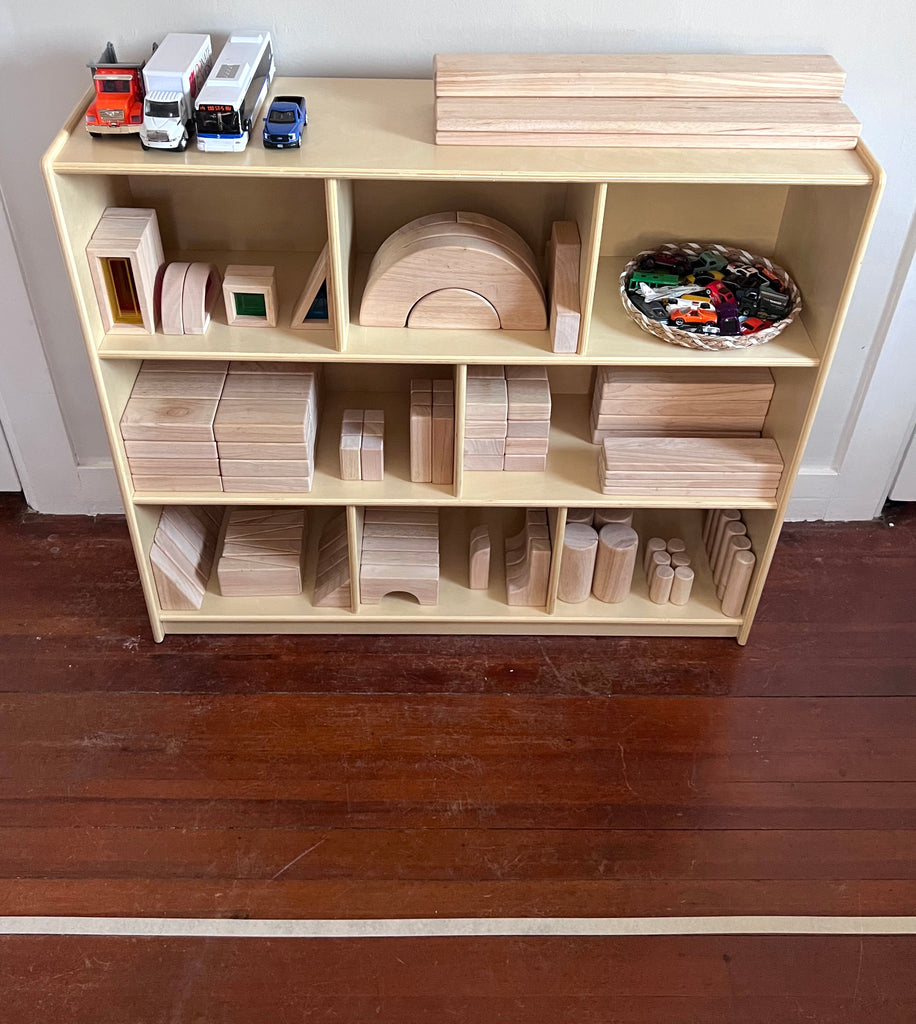
- Choose a shelf with enough space to fit all of your blocks. I recommend choosing a shelf that leaves room for your block collection to grow. Compartments can be helpful for organization, but aren’t required. Just make sure to choose a sturdy shelf that is built to hold heavy materials like blocks. The EdQ 3-Shelf 8-Compartment Storage - 36" or the EdQ 2-Shelf 5-Compartment Storage in either the 30" or 24" version are sturdy enough to hold full Unit Block sets. Available in either white or natural, these durable shelves fit perfectly in any already established play space.
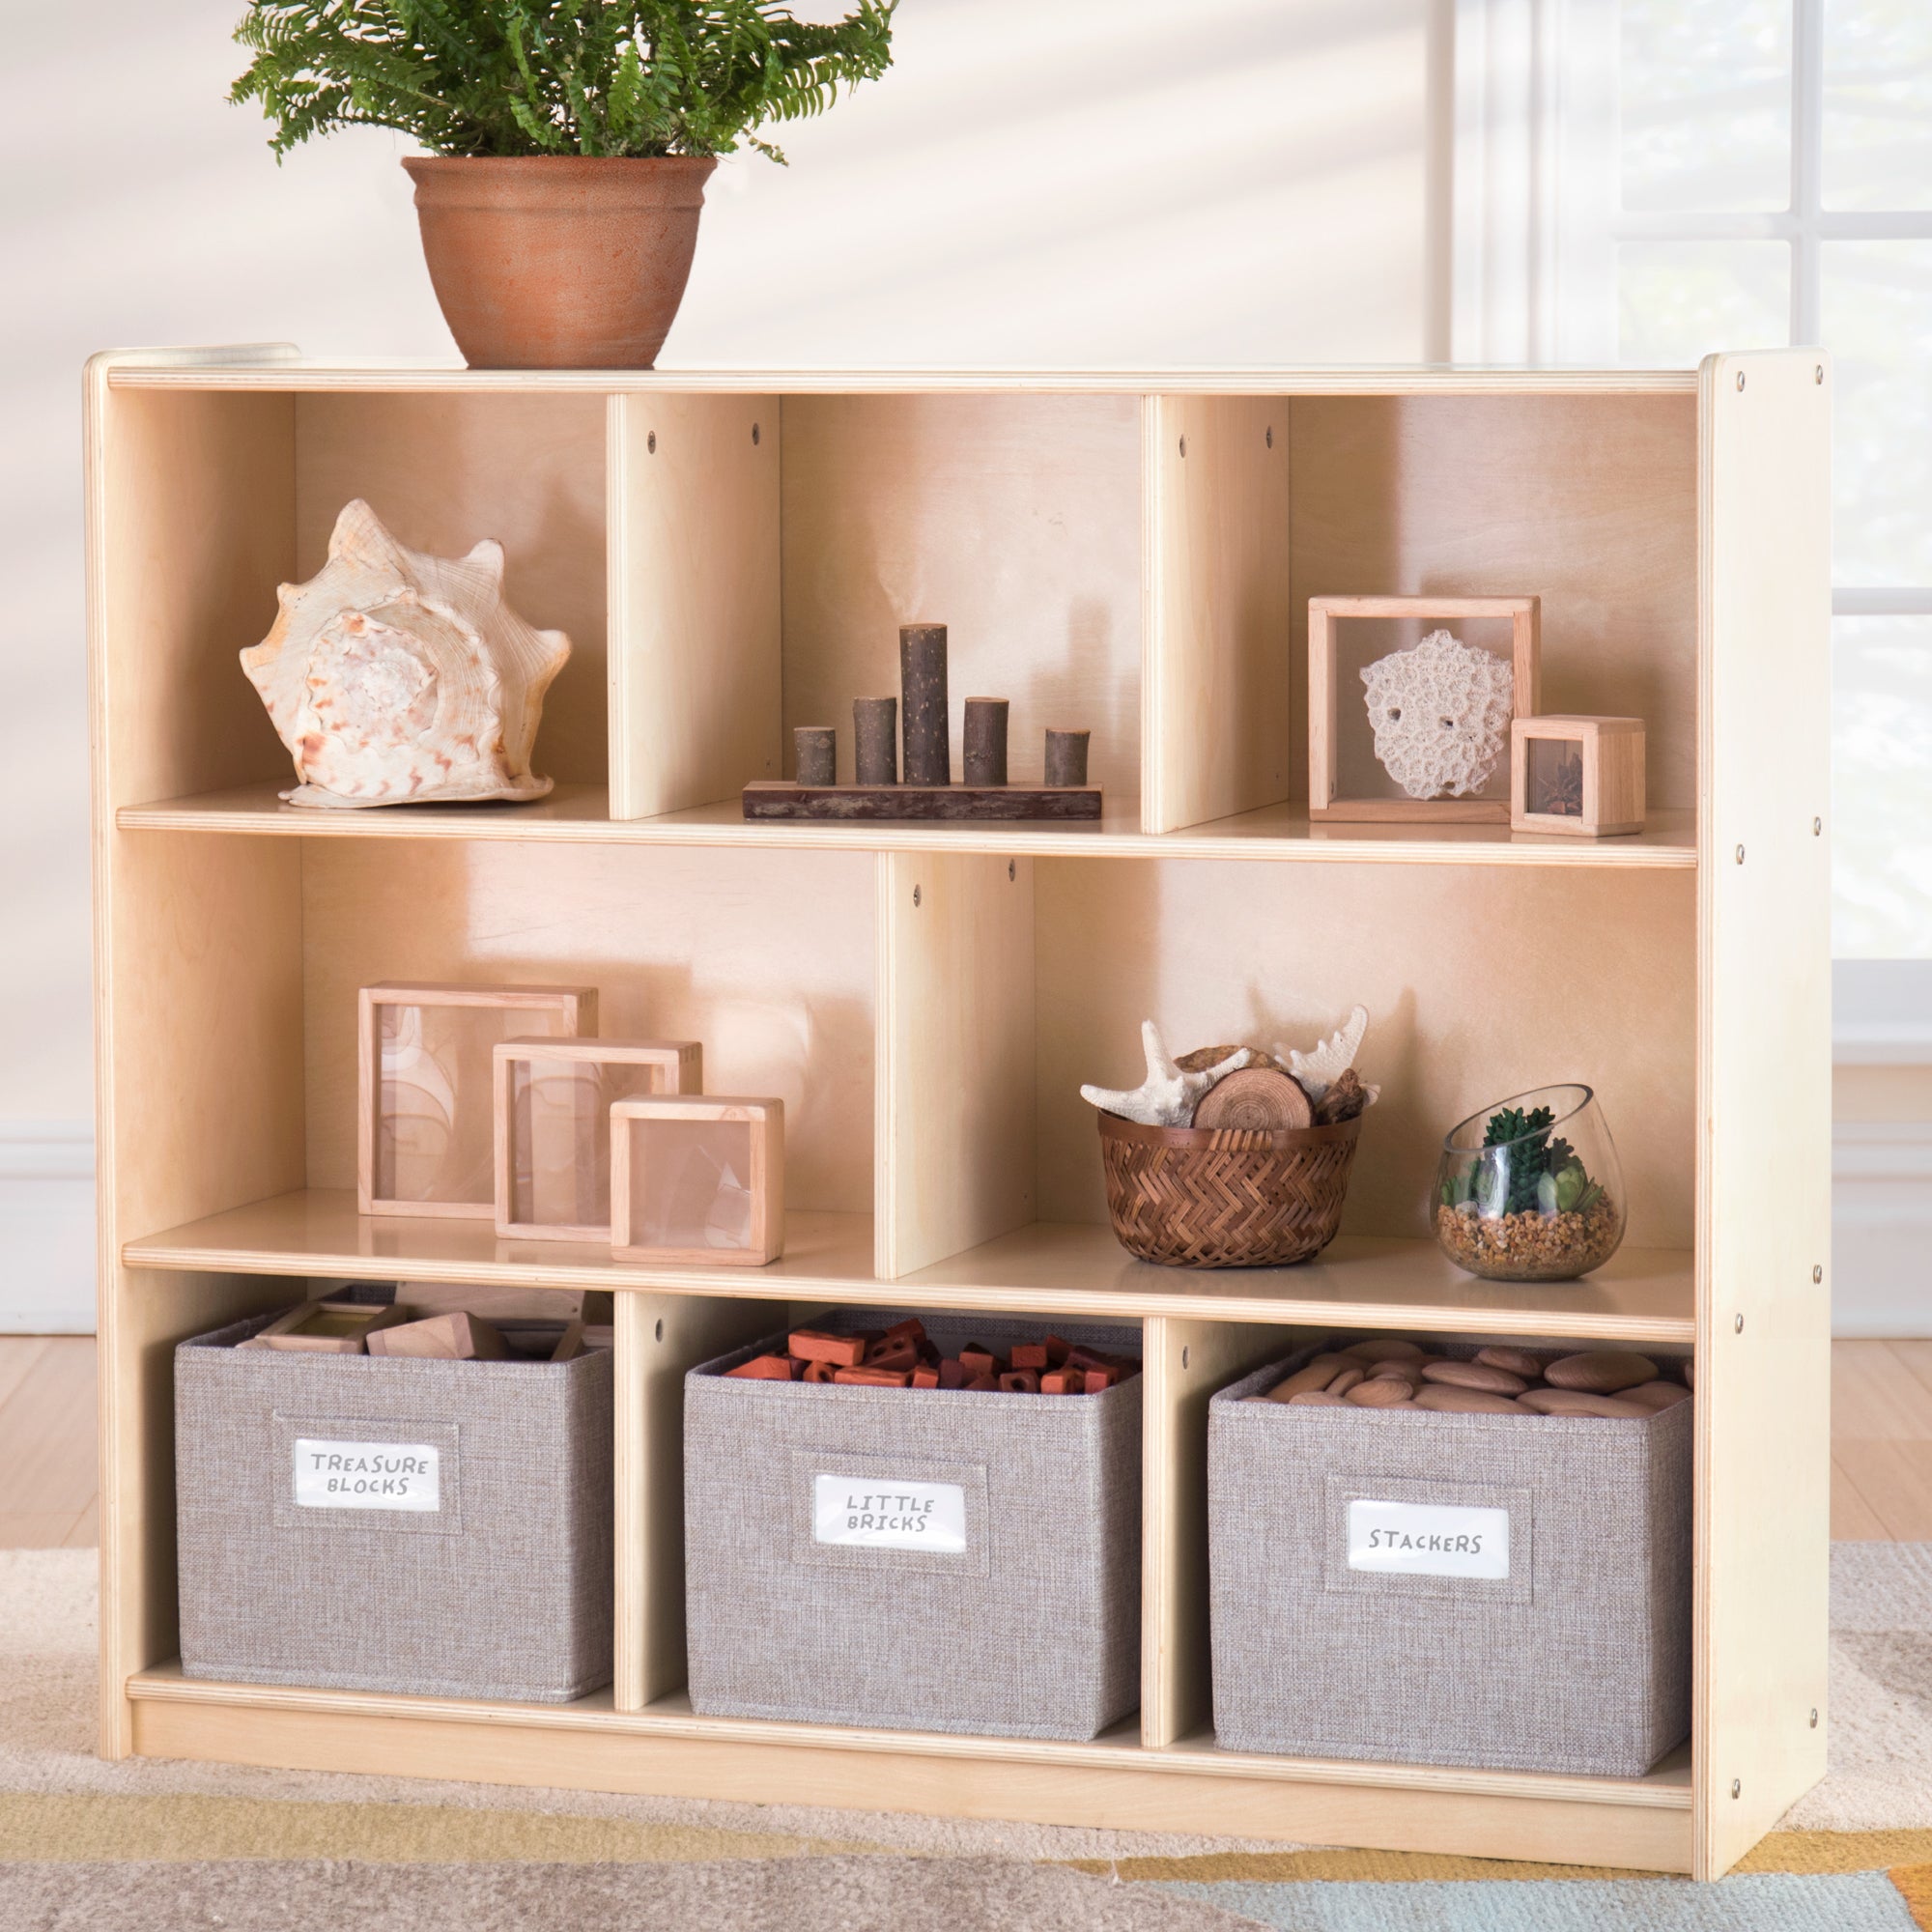

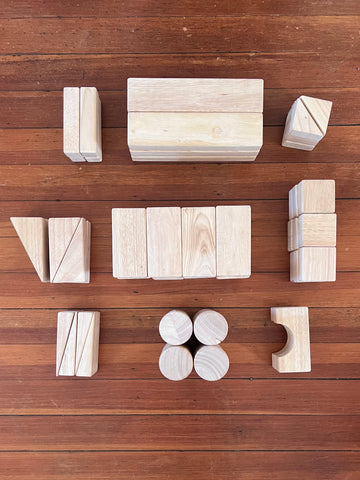
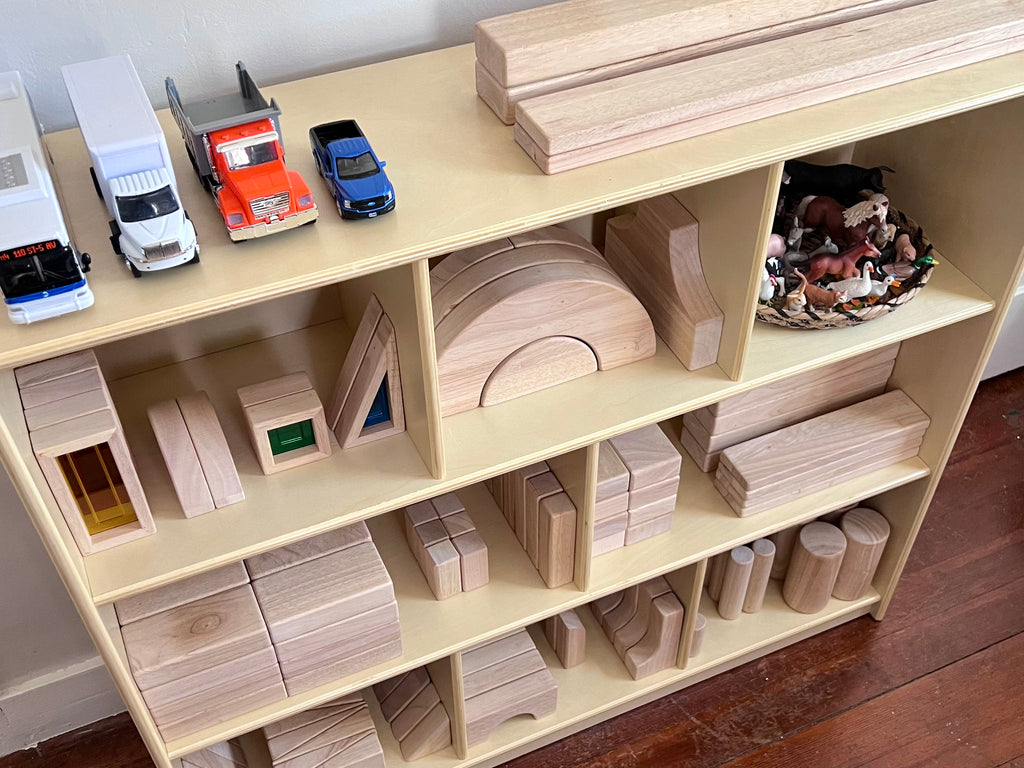
3. Organize the blocks on your shelf by shape and size. Make sure that each block type is visually and physically accessible to the child. They should be able to grab a block of any kind from the shelf without moving anything else out of the way. This might take some trial and error. If your shelf allows it, I recommend grouping similar block shapes together. (For example all of the differently-sized cylinders can be grouped in one compartment!)

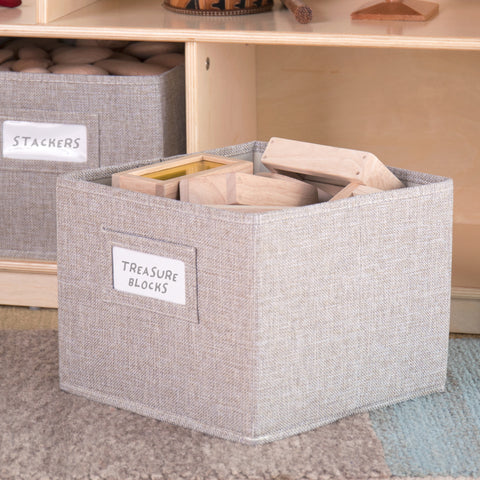
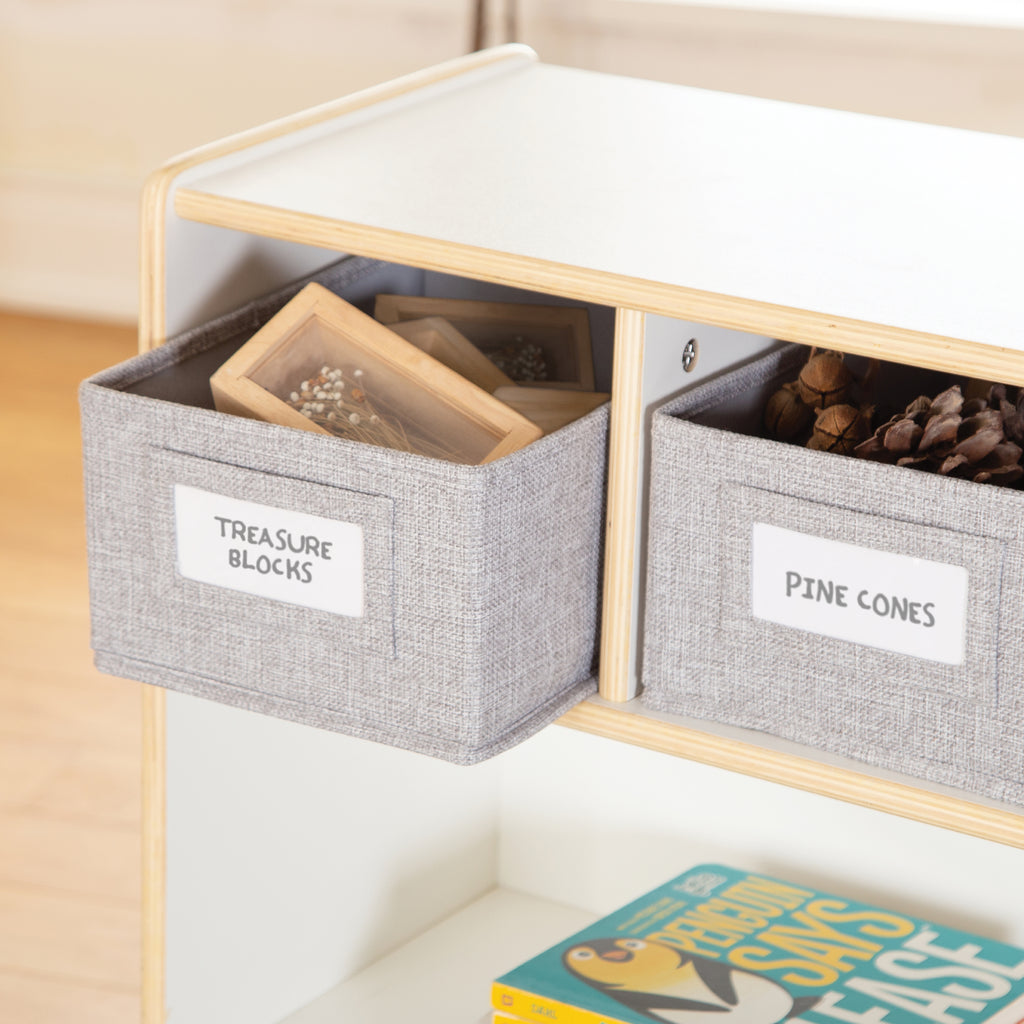
4. Label the shelves. This step is optional and might not be necessary in a home setting, but it can definitely help kids clean up more independently. You can purchase unit block labels or make your own with photographs of each block shape or by tracing one face of each block onto construction paper, cutting them out and adhering the printouts to the shelf in some way.
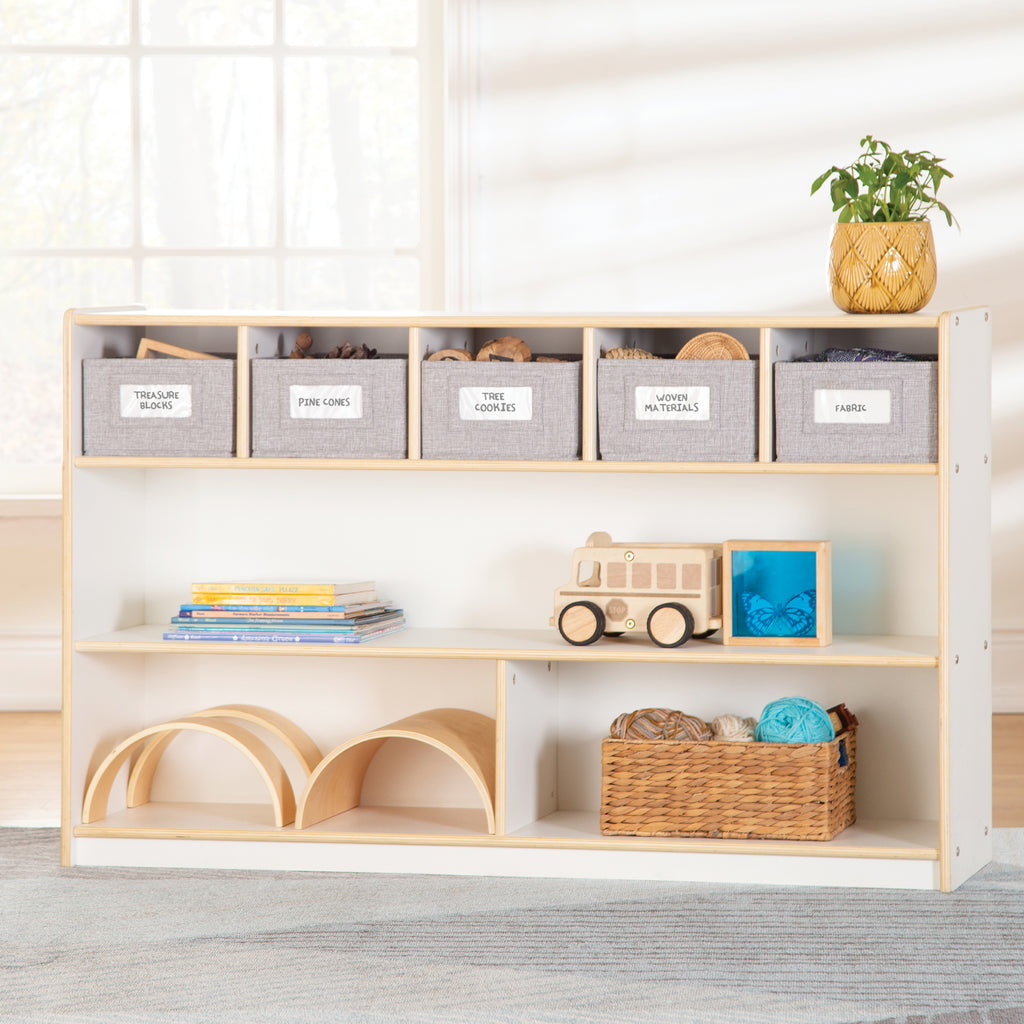
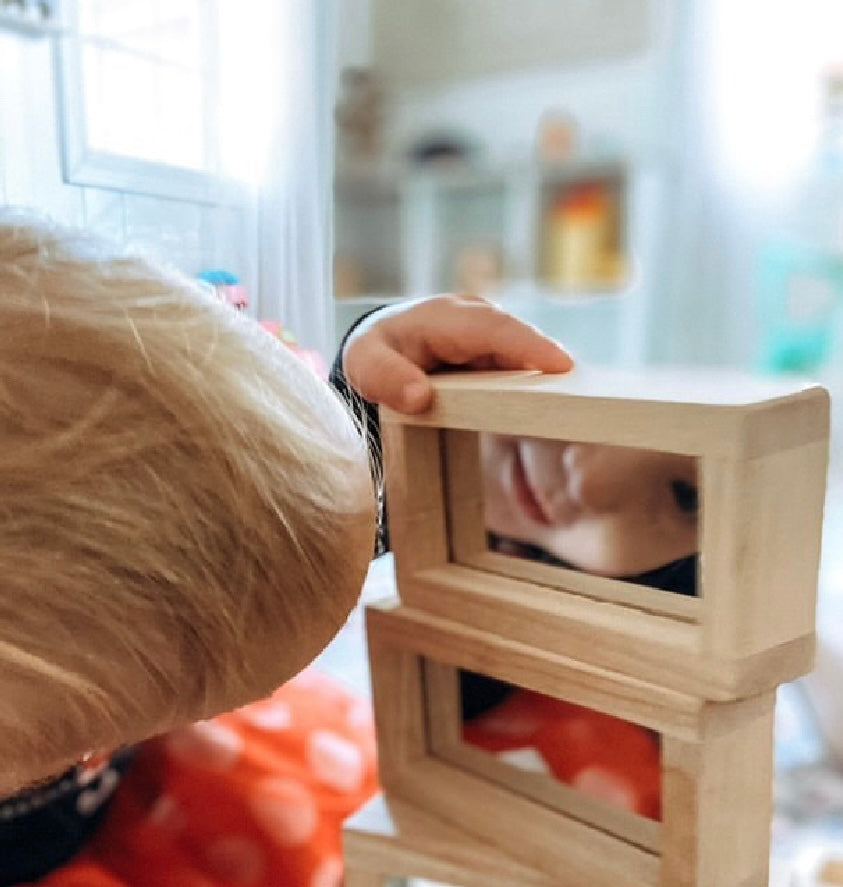
5. Add related products and accessories! Choose a few block adjacent toys that are aligned with your child’s interests and display them in open sections of your shelf. They should be visually and physically accessible just like the blocks. If your child loves vehicles, add some trucks and cars like the Mini Wooden Truck Set to a shallow basket. If your child is an animal lover you can add some animal figurines instead. The important thing is that these accessories enhance block play and meet the interests of the child. You can also consider adding some more decorative, but still unit block aligned, blocks like Rainbow Blocks or Mirror Blocks!

6. Make a visual boundary of where to build. Showing kids where to build is just as important as setting up the shelf. Use a piece of masking tape or painters tape, or a low pile rug to visually distinguish where it’s appropriate to build. Place this visual boundary line 12-18 inches away from the base of your block shelf. This will make it easy for children to move around the space safely without bumping into structures or blocking their own access to more blocks. It’s amazing what this simple visual reminder can do to help minimize frustration in block play!
What’s next?
Invite your child to explore the shelf. Give a tour if you’re feeling fancy! But just by presenting the blocks in a gorgeously organized shelf you’ve done your part in facilitating play. The kids will take the rest into their own hands!
If you’re interested in learning more about block play or need help choosing a block set or block shelf for your home, come check out my block play education resources on instagram @everydaywitheandj or on my website everydaywitheandj.com!
Happy building!