Comment aménager un mini atelier chez vous

En tant qu'Atelierista (animatrice d'atelier d'art) dans une école maternelle inspirée de Reggio, je suis habituée à mettre en place des expériences d'expression pour les jeunes enfants. Mais comment appliquer les mêmes principes que j'utilise en classe dans un autre contexte ? Imaginez créer un mini-atelier chez vous ! Un atelier est simplement un espace dédié à la créativité, avec beaucoup de matériel accessible. Un mini-atelier serait simplement à plus petite échelle, un peu comme une étagère à œuvres d'art.
3 considérations pour aménager un mini-atelier chez vous
1. Disposition et espace :
L'un des aspects les plus importants est l'espace. Où installer le mini-atelier ? Réaménager entièrement son intérieur n'est pas toujours simple ni réalisable. Heureusement, de nombreuses options s'offrent à vous à plus petite échelle.
Voici quelques idées pour gagner de la place dans la maison :
-
Une petite étagère, comme celles de la collection de meubles EdQ , garnie de matériaux pratiques et accessibles. Un accès facile à une table pour enfant à proximité est un plus, mais elle peut aussi simplement servir de table de salle à manger.
-
Un chevalet pour enfant avec rangement intégré ou un chariot à roulettes à côté. Chevalets et chariots à roulettes forment un duo idéal pour gagner de la place. Le chariot d'art « Bureau à Chevalet » est une excellente option multifonctionnelle.
-
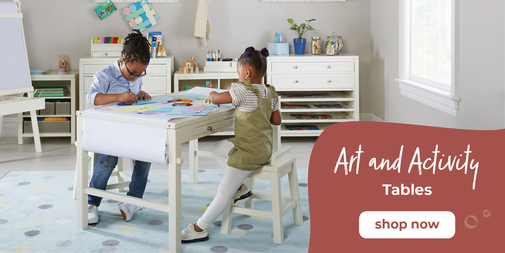
Une table d'art adaptée aux enfants avec rangement intégré, comme la Deluxe Art Center , la Martha Stewart Art Table ou même la Design Studio, est une excellente option. Le rangement est essentiel pour l'organisation, surtout s'il est intégré !
Quelle que soit l'option choisie, il est important de s'assurer qu'il y ait suffisamment d'espace pour que les enfants puissent bouger librement. Un espace confiné augmente le risque de déversements et de dégâts. Même si vous optez pour un petit coin de la pièce, utilisez les murs ! Étagères et panneaux perforés offrent un rangement facile et peu encombrant.

2. Organisation et esthétique :
Il faut également réfléchir à la disposition du matériel et à la manière de le rendre facilement accessible. Chaque matériel doit avoir sa place, clairement défini et organisé de manière à inciter les enfants à créer. Je suis convaincue que les enfants apprécient l'esthétique et méritent de belles choses. Lorsque nous présentons le matériel avec soin et attention, les enfants se montrent à la hauteur et le traitent avec le même soin. J'aime organiser mon matériel par couleur, mais vous pouvez aussi le classer par type ou par utilisation fréquente.
*Conseil:
Laissez du matériel à disposition et d'autres à proximité. Cela permettra une rotation à mesure que vos enfants se familiariseront avec le matériel.
Les bacs de rangement empilables sont parfaits pour ranger des crayons de couleur, des crayons de couleur, des marqueurs, etc.
 3. Matériaux
Il existe tellement de matériaux artistiques incroyables qu'il est difficile de savoir par où commencer ! Voici quelques-unes de mes expériences les plus réussies :
Fournitures d'art indispensables
• Peinture : tempera liquide, bâtons de tempera et gâteaux (consultez Kwik Sticks pour tout ce qui concerne les bâtons de peinture !)
• Aquarelles : liquides et palettes
•Pastels : huile et craie
• Crayons aquarelle (STABILO fabrique le meilleur crayon épais 3 en 1 !)
• Des feutres Sharpies (oui, je sais qu'ils sont permanents !)
D'autres matériaux comprennent :
•Argile ou Sculpey
•Matériel de collage (pompons, formes en feutre, bâtons de colle)
• Matériel de bricolage (ruban washi, cure-pipes, perles, ciseaux, autocollants)
•Timbres et tampons encreurs
•Livres de coloriage

Conseils pendant le processus créatif :
Privilégiez le processus plutôt que le produit. Les expériences orientées processus sont autodirigées et invitent à la liberté d'expression et à la créativité organique.
Utilisez un vieux t-shirt ou une blouse pour couvrir les vêtements
Proposez du nouveau matériel en petites quantités et au fil du temps jusqu’à ce que les enfants aient développé une compréhension du fonctionnement du matériel.
Techniques de modélisation telles que le tamponnage, le tourbillonnement, le tapotement, l'estampage et bien plus encore !


